
It was about two weeks ago, when I stumbled upon some lovely small, white, square pots with succulents that I got the idea to make these cakes. I haven’t made any “figure cakes” before and have wanted to try succulents after my first and not entirely successful attempt, and this seemed the perfect opportunity for both these things! I made the flowers about a week ago and since I bought a new camera this weekend (I’m in love!) I’ve been too busy trying it out! But today I finally got around to baking! Since there are so many things to share about these cakes – three succulent tutorials, the inside of it and how to make the pots – I won’t be able to share everything today… So I thought I’d begin with the how-to for the pots in this post! Since I don’t have any square baking pans, I baked a large and thin rectangle which I cut into smaller squares.
1.. Once the cake is baked and cooled, use a cake leveler to give the cake an even height. Cut along the edges to make them nice and straight. Use a ruler to make sure the width is even, and use a try square if you need to to make sure the corners have a 90° angle.
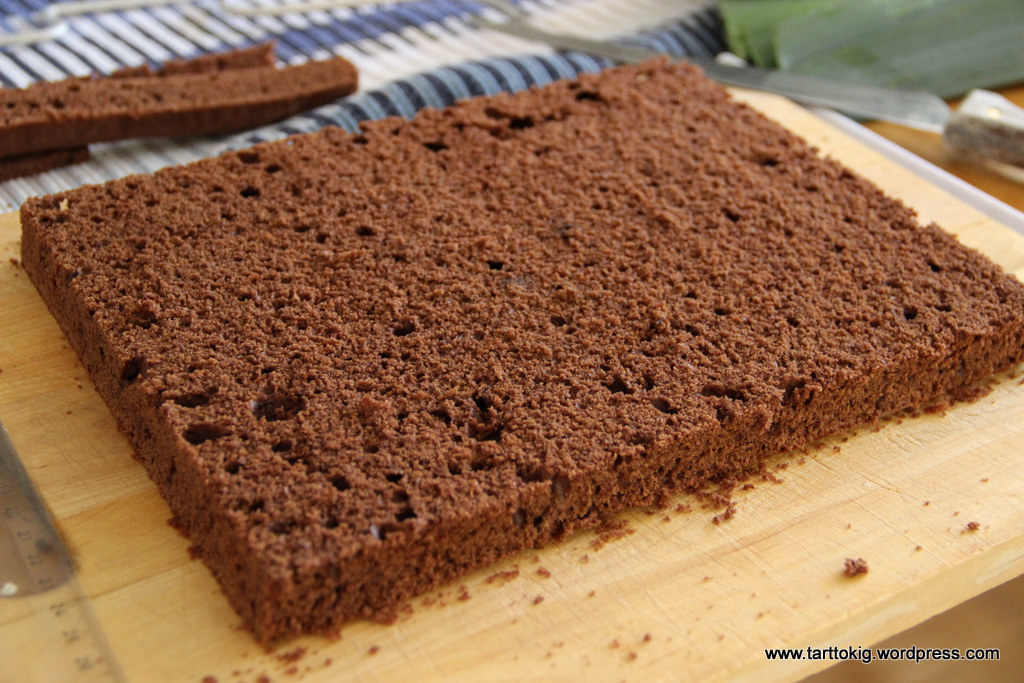
2.. I built my cakes with three layers of cake and had planned to make four cakes, so I wanted to make 12 squares. The easiest way was to cut the long side into four and the shorter into three. Measure the length and the width and find a size of square that is possible to make. The width of my cake was 20 cm, and the length 26 cm, therefore I chose to have the sides of my squares 6,5 cm (6,5×4=26 and 6,5×3=19,5 so this size works).
3.. Once you’ve figured out the math, cut the cake. Use a ruler to make sure the pieces are even in size.


4.. Fill the cakes, place them on a serving platter (making sure there is enough space between them so you can coat and cover the cakes) and coat it in buttercream/ganache.
5.. Measure the height of your first cake. If it is a little uneven, measure the highest point.
6.. Roll out fondant/marzipan/modelling chocolate large enough to cover the side of the cake. Cut a long strip, approximately 5 mm higher (no more) than the measurement you got in step 5 (use a ruler). Make it long enough so that you are sure it will fit around the cake.
7.. Cover the side of the cake with the strip and let the seams meet at the back. Use a scissor to cut of the excess. Smooth the fondant using your hands or a cake smoother.
8.. If you made chocolate cake; crumble the excess cake to use as soil. You could also use cookie crumbles, finely chopped dark chocolate etc. Add the soil to the top of the cake. Then add a flower of your choice.
Thanks for looking, and stay tuned for the succulent tutorials!


Can’t wait for the rest of the tutorial! These are soooo cute! I’d love to make these to give to friends and family.
Thank you so much for your comment Norma! Makes me so happy to hear! 🙂
This is beautiful
Oh thanks Sylvia! 🙂
These are absolutely adorable!!! I love your work.
Thank you so much Delia! You just made me very happy! 🙂
Pingback: Oh, sweet cherries… | tarttokig
These are fantastic! I put out a link to your blog because I tried to bake almost the same cakes. I hope it´s ok!? Welcome to visit my blog: jenny-nordstrom.blogspot.se
Jenny
Thanks Jenny, no problem! 🙂