
Time for another succulent tutorial!! I’m not sure what this one is called either but I know it exists in nature! This is probably the easiest of the 3 different succulents I made; you just have to roll sugarpaste or gumpaste into cones of different sizes and glue them together. Real simple, right? Here’s what you’ll need:
- Green sugarpaste/gumpaste tinted green
- Dark green luster dust (I used “Forest green” from Sugarflair)
- Ebible glue and brush
- Medium size fluffy brush
- Flower shaper (I used a small cupcake case that I flattened a little)
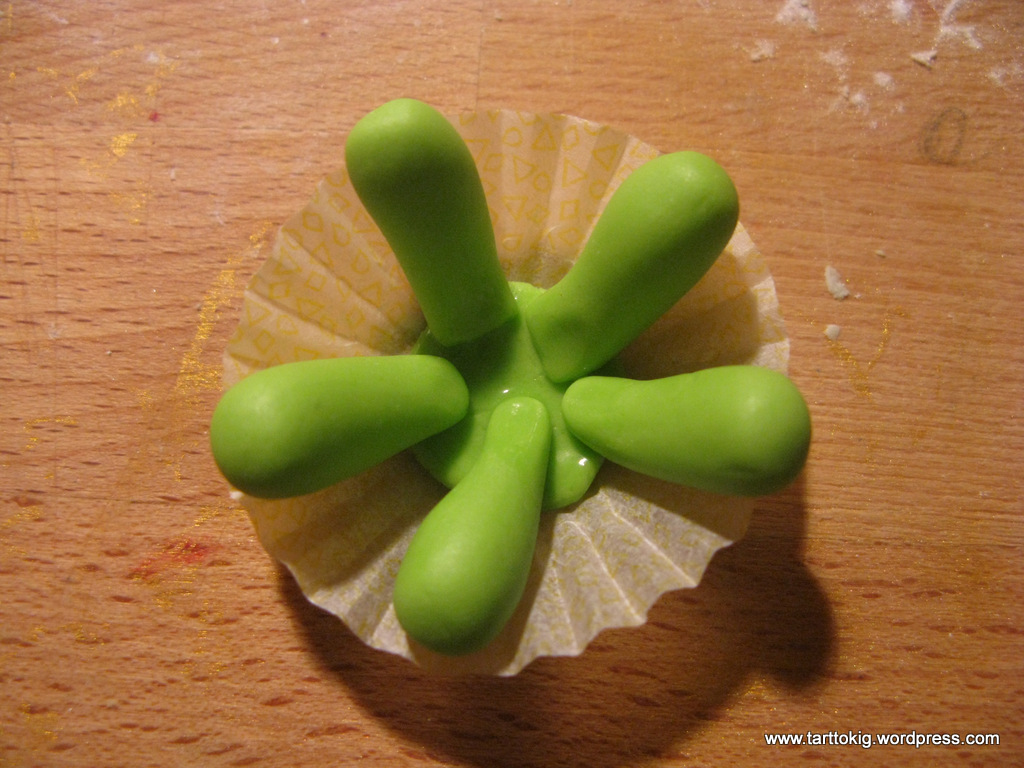
1.. Make five balls out of gumpaste/sugarpaste, and then roll them into cones.

2.. Make a small circle of the same paste (preferably smaller than the one in the picture!), put it your flower shaper and attach the five cones evenly. Use the glue to secure the pieces.
3.. Make another five cones, slightly smaller than the first five. Attach them to the flower, in the empty spaces of the first row. Use some tissue to support the second row. Make sure it doesn’t look like one row, but two!

4.. Make yet another five cones, even smaller than the previous rows and attach them in the spaces between the petals of the second row. Again, use tissue paper as support if necessary. Once the flowers has dried enough to hold its shape; apply petal dust to the tips of the petals.

And that’s it! Hope you enjoyed the tutorial, and don’t hesitate to leave a comment or ask a question!
Thanks for looking, and see you a little later for part 3!


gorgeous!! I love it, thanks for sharing.
It is all coming together now
ITis looking great now.
Thanks Jenny! xx
Pingback: 4 months of blogging! | tarttokig