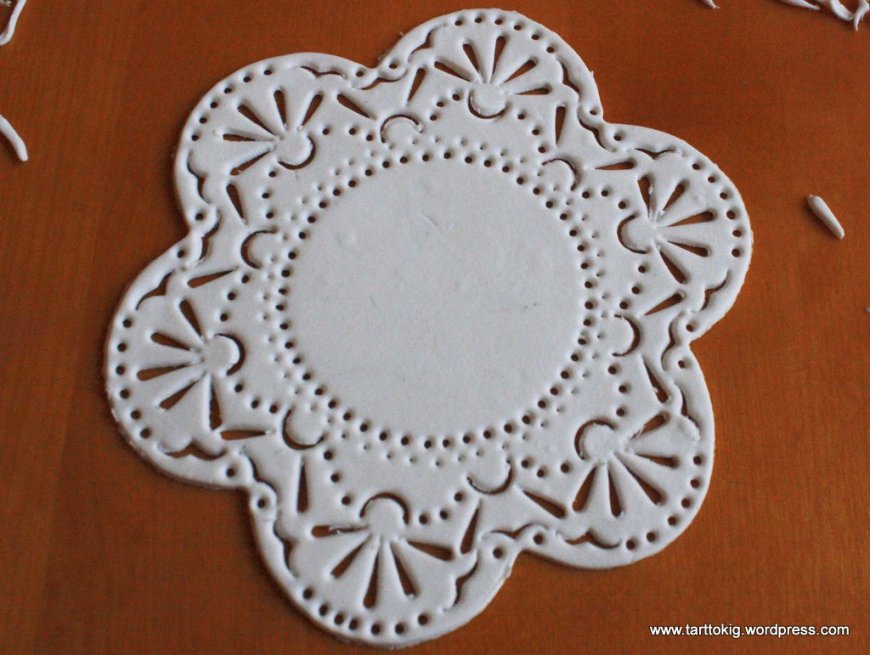
I made some cute lace doilies today! It was a lot of fun and not very hard either! I made one from marzipan and one from sugarpaste, and I think the marzipan one was a little easier. I used piping tips and the sugarpaste had a tendency to stick to the tips. Marzipan worked better in that aspect, although it didn’t hold its shape as well and wasn’t as easy to move. I guess it works either way! I don’t think that gumpaste will work though since it takes some time to finish a doily and gumpaste dries quite quickly. I thought I’d share a quick tutorial also!
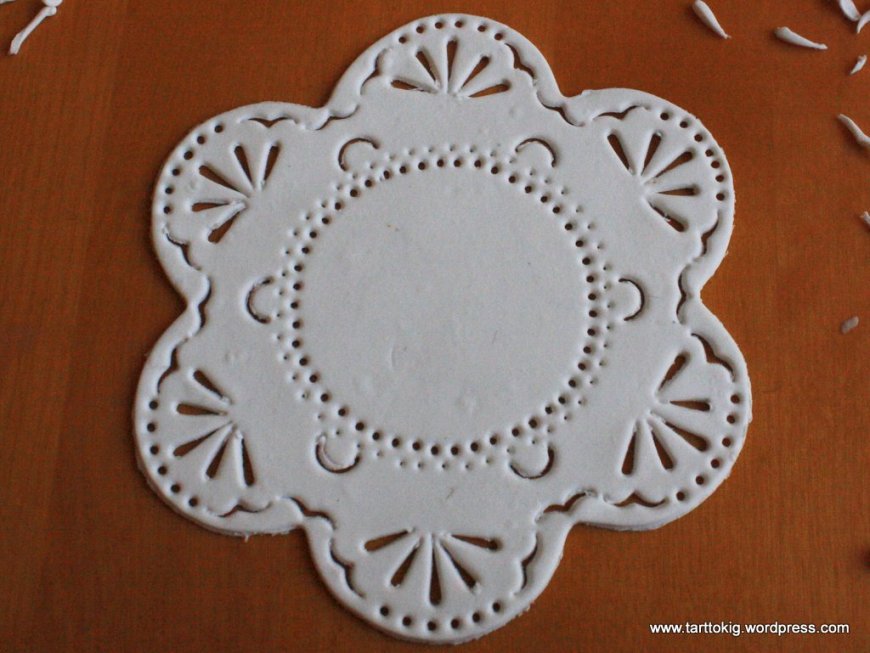
I used a six petal cutter (the largest one from Wilton), but you can use other cutters as well. I think it might be hard to use circle cutters since you have no guidelines to get the pattern symmetrical, but of course it depends upon the pattern you’re going for! I used small round tips, rose petal tips and one that looks a little like a seagul. Or an “m”. If you look at the picture, you probably understand which one I’m talking about! 🙂 I also used the one that looks like a half circle (or a “C”), but I thought it was quite tricky to use. The size of the tips depends upon the size of the doily; if it is very large, you want to use bigger tips, and if it is smaller, you want to use smaller ones. You can of course make any pattern you want, but in this tutorial I will show how I did one of my designs, like inspiration. Here it comes!
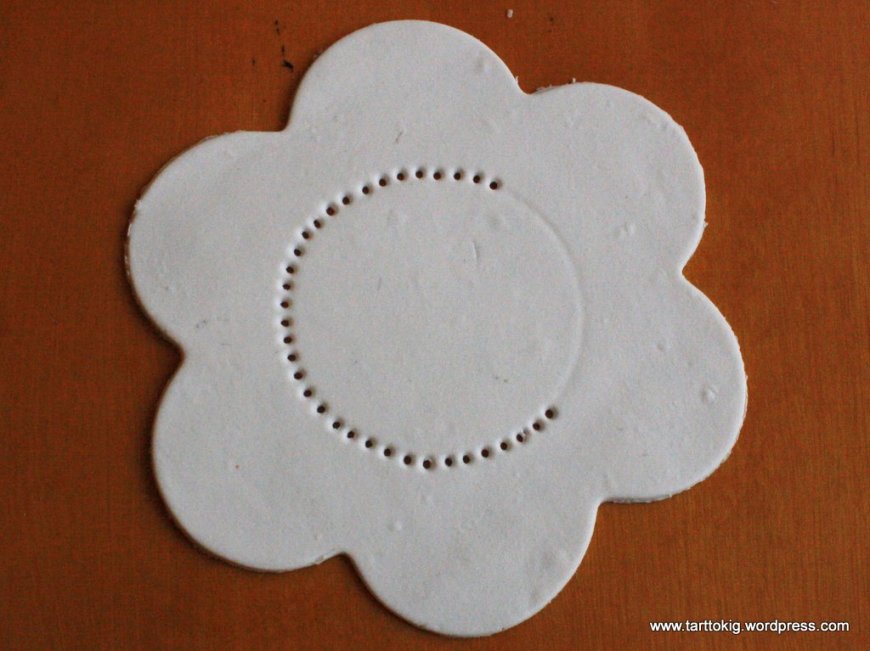
1.. Roll out sugarpaste as thinly as you can (oh well, I didn’t roll it as thin as possible, mine was somewhere around 2 mm I think, but you should! 😉 )
2.. Use a circle cutter/egg cup/glass/something round to made a circle in the middle. Make sure it is completely centered! Use a ruler if you need to! Then use a round tip to make small holes on the circle.
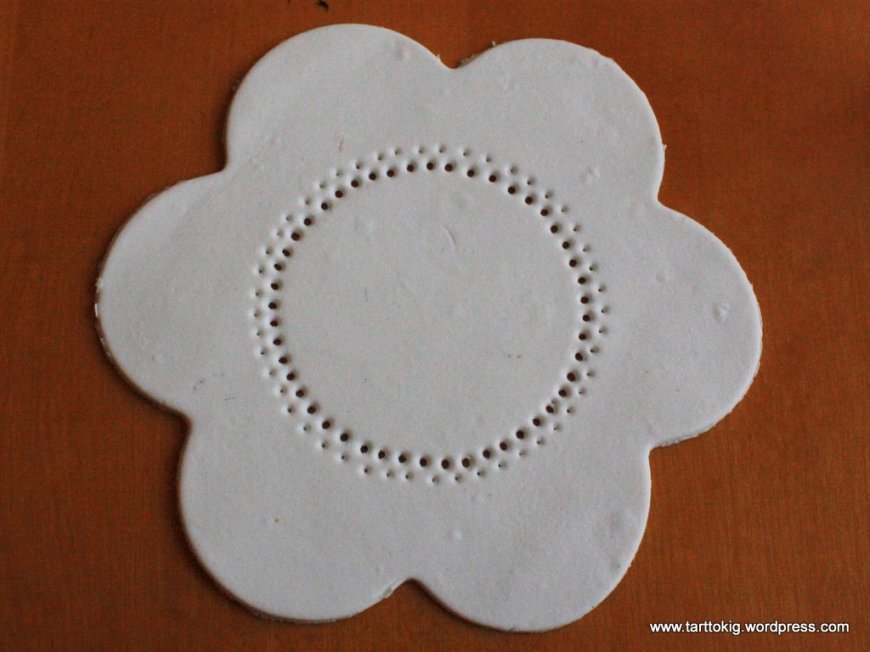
3.. Use a smaller tip to make smaller holes next to the larger ones.
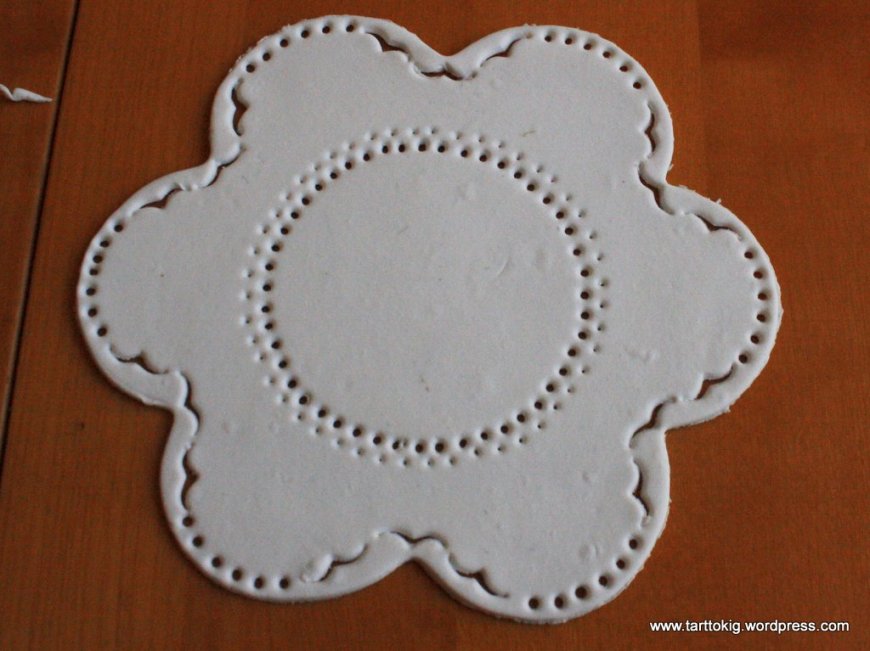
4.. Use the “seagul tip” and the same round tip as the inner line (step 2) along the edge like in the picture. I didn’t count the small holes to make sure I made the same amount on each “petal”, I don’t think you notice that anyways! Just make sure the distance between them is the same!
5.. I then used the “C” tip and a rose petal tip.
6.. Then I used the “C” tip and rose petal tip again as you can see by the picture. I then made some round holes to connect the “C:s”.
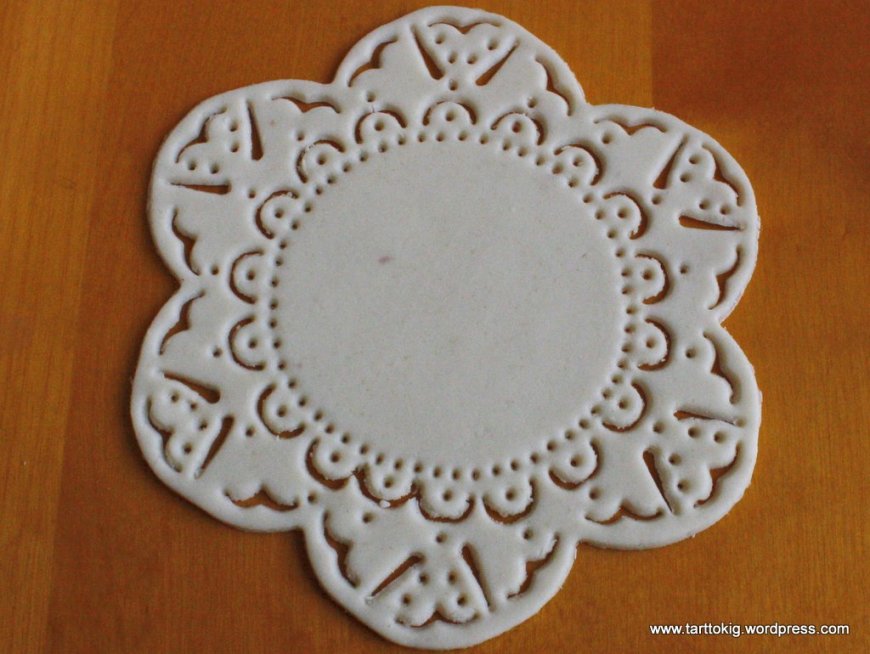
And that’s it for the tutorial! Use your imagination or google “lace doilies” for other patterns, this is just inspiration (although you can of course do the same pattern as I did if you want to!)! I’ll also share a picture of the second doily I made (below). I’ve used the same tips, just a different pattern.
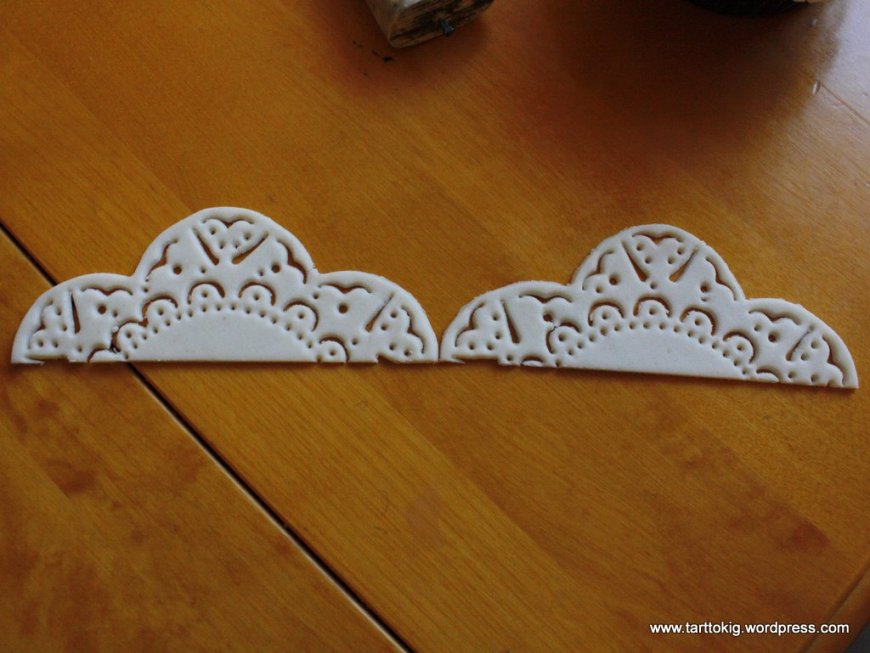
Oh, almost forgot! These would look lovely I think as a border of the side of a cake!
Thanks for looking, and good luck! If you try it out, I’d love to see the result! 🙂

Très joli bravo !
Merci Marie!
Wow..thank you for the tutorial. Can’t wait to try these.
Thanks Maria! They were a lot of fun to make!
Great idea, love it, you are so clever!!!
Thanks Delia, you’re so sweet! xx
very handy to have on hand. I like it. Jenny Lofts
very handy to have on hand. I LIKE IT.
do you know how to make a peony flower
Lovely idea! I’m looking forward to see your new posts…
Thanks Mia, how sweet of you! 🙂
Pingback: Tutorial – lace trees | tarttokig